Beyond the Plug: What Installing an Off-Grid RV Solar System Is Actually Like
There’s a specific kind of magic in pulling your trailer into a secluded forest clearing, turning off the engine, and realizing you don’t need a shore power pedestal, a noisy gas generator, or a crowded RV park to live comfortably.
Upgrading a trailer or RV with an off-grid solar system promises total energy independence. But what does the actual process of installing one feel like? Beyond the polished YouTube videos, installing RV solar is a mix of heavy lifting, tedious wiring, electrical math, and a whole lot of drills through your beloved camper's roof.
Here is an honest look at what it takes to install an off-grid solar upgrade, how the components fit together, and whether you should dive in DIY-style or hire a pro.
The Big Four: Core System Components
Before driving a single screw, it helps to understand the four primary building blocks of an off-grid setup.
ComponentWhat It DoesWhy It Matters Off-GridMonocrystalline PanelsConverts sunlight into direct current (DC) electricity.High efficiency maximizes limited roof space.MPPT Charge ControllerRegulates voltage/current coming from panels to safely charge batteries.MPPT is up to 30% more efficient than older PWM controllers in variable weather.LiFePO4 Battery BankStores solar energy for nighttime and cloudy days.Lithium charges faster, weighs ~60% less than lead-acid, and allows 100% depth of discharge.Pure Sine Wave InverterConverts 12V DC battery power into 120V AC household electricity.Lets you run residential appliances (laptops, microwaves, coffee makers) safely.
Step-by-Step: The Installation Reality
Installing solar is a multi-stage project that demands patience, proper safety precautions, and precision measurement.
Phase 1: Planning & Energy Audits
Before buying hardware, track your daily watt-hour consumption. A modest system running 12V lights, water pumps, and phone chargers might need 200W–400W of solar paired with a 200Ah lithium battery. Heavy power users wanting to run an air conditioner, induction cooktop, or Starlink will look at 800W+ on the roof and a 400Ah–800Ah battery bank.
Phase 2: Roof Mounting (The Nerve-Wracking Part)
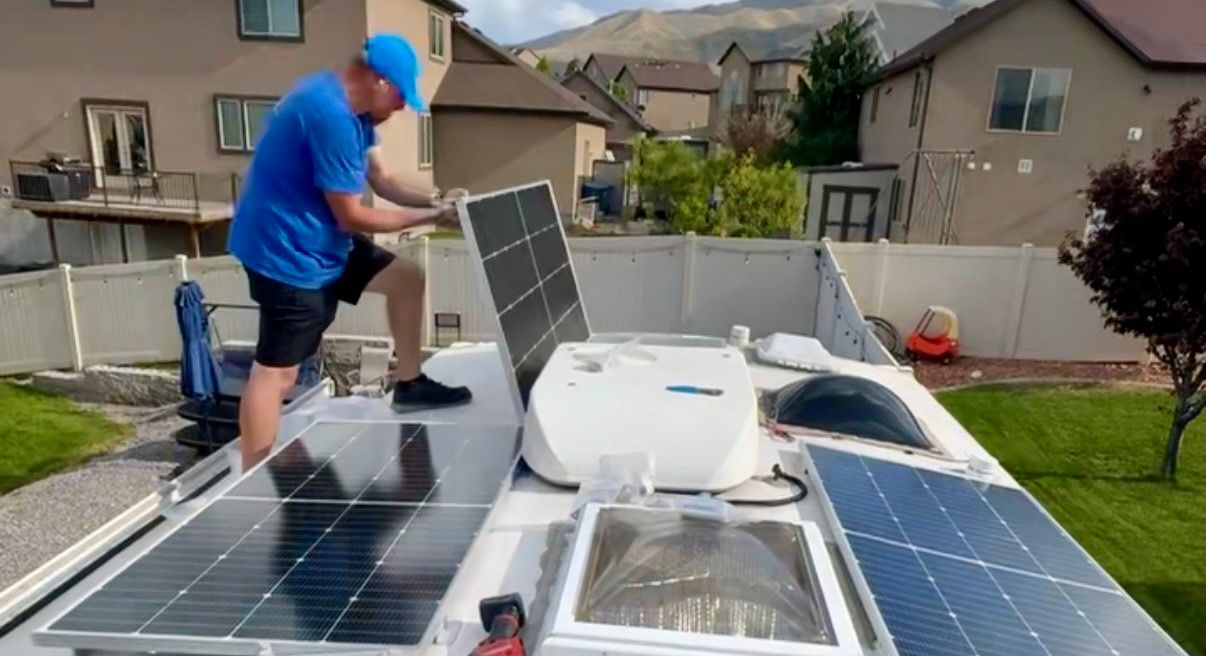
Mounting rigid solar panels requires securing Z-brackets to the aluminum or rubber roof deck.
- The Drill Rule: Drill pilot holes directly into roof trusses where possible.
- Waterproofing: Generously apply lap sealant (like Dicor) under every bracket, over every screw, and around cable entry glands to guarantee a watertight seal.
Phase 3: Wiring & Charge Controller Routing
Solar wire must pass through the roof into the interior compartment housing your equipment. Using a weatherproof double-entry cable gland prevents leaks where cables enter.
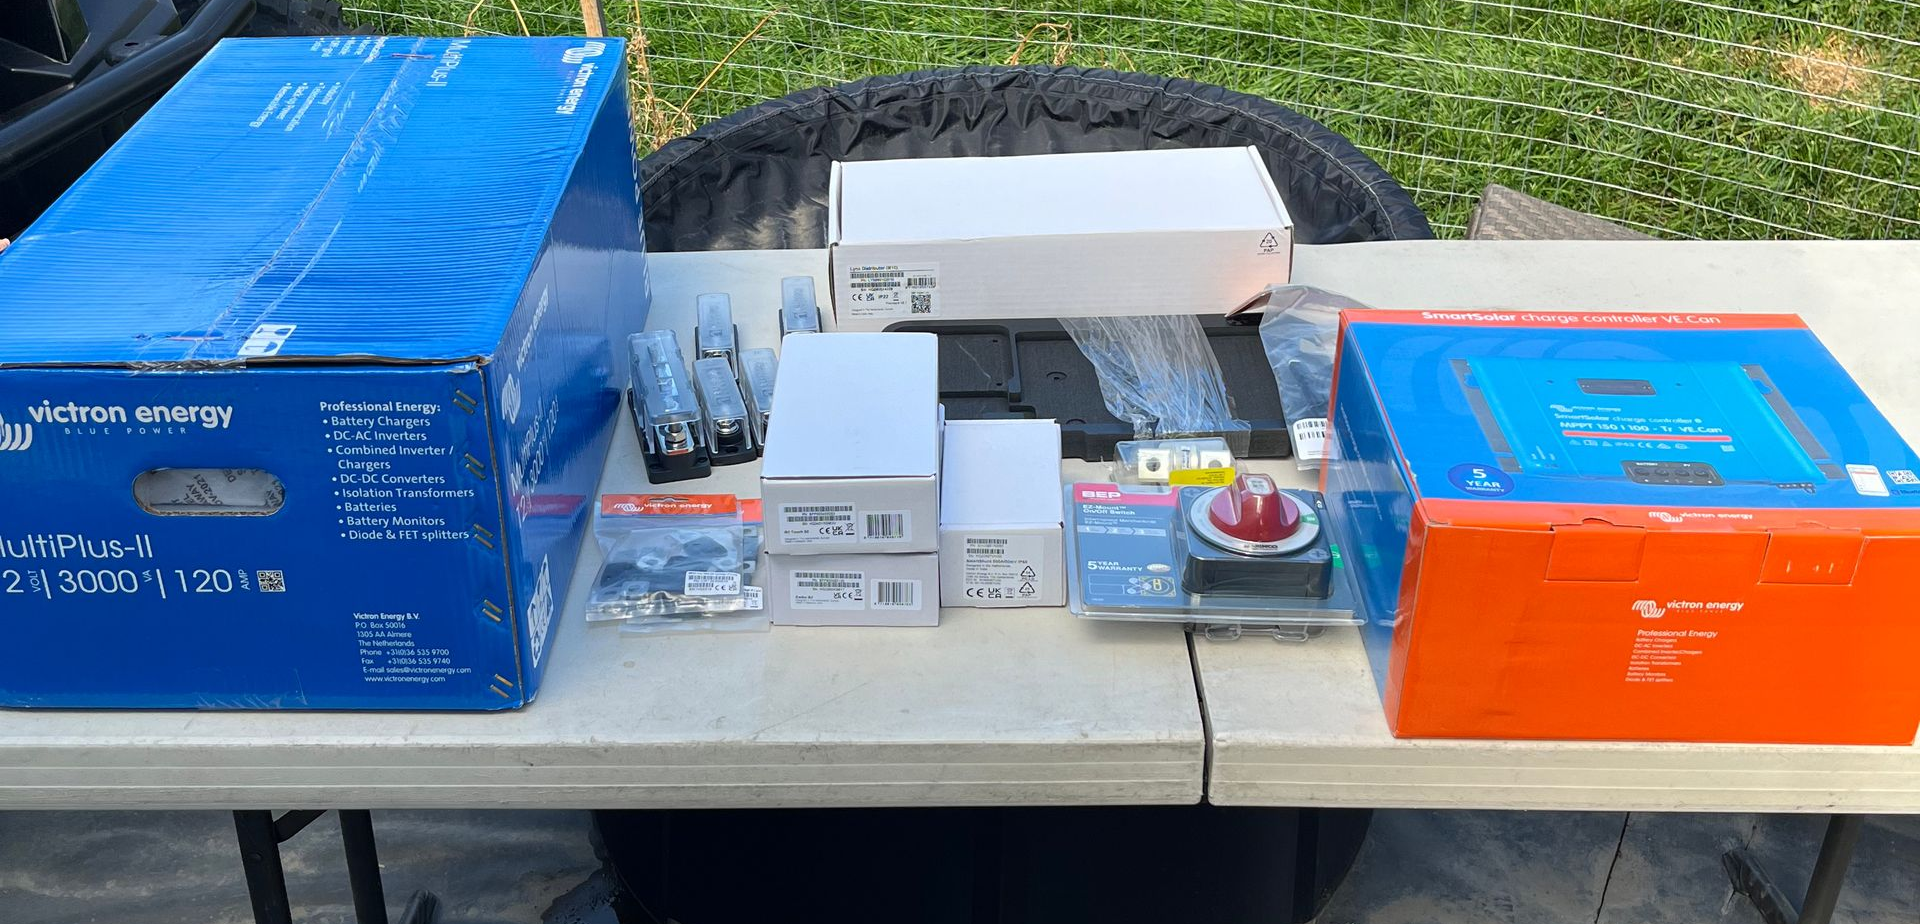
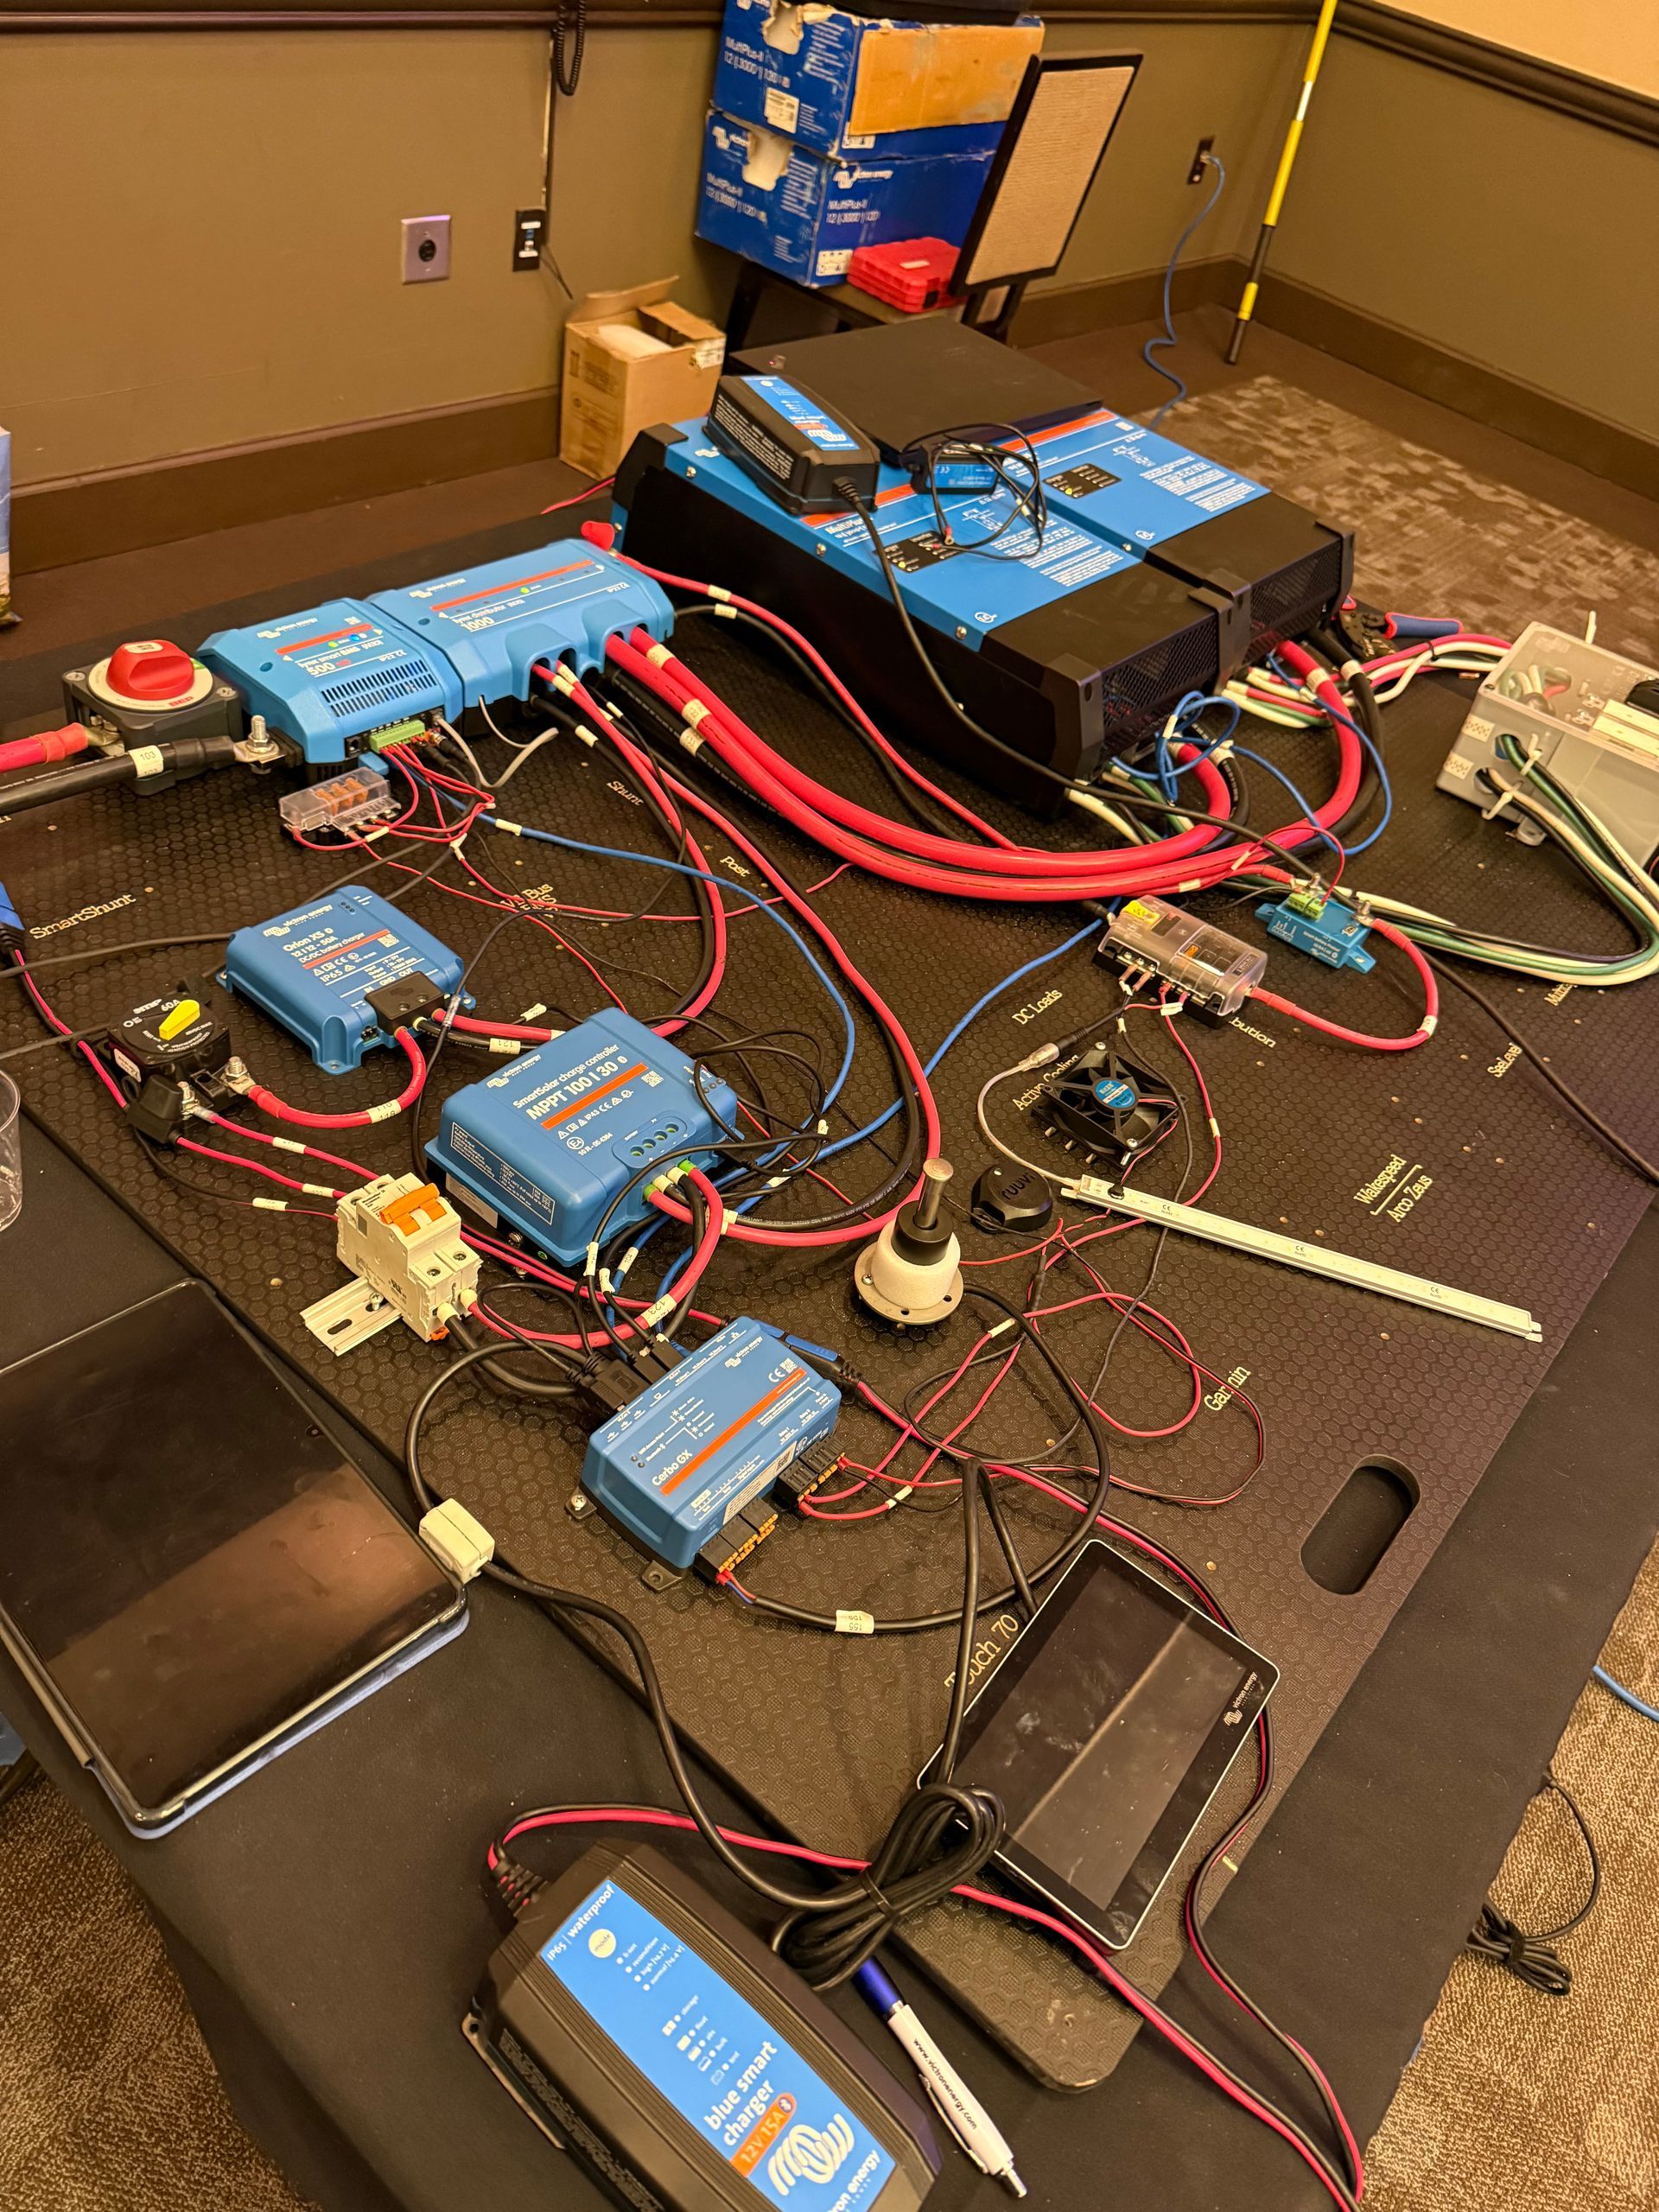
Phase 4: Building the "Brain" (Inverter, Controller & Busbars)
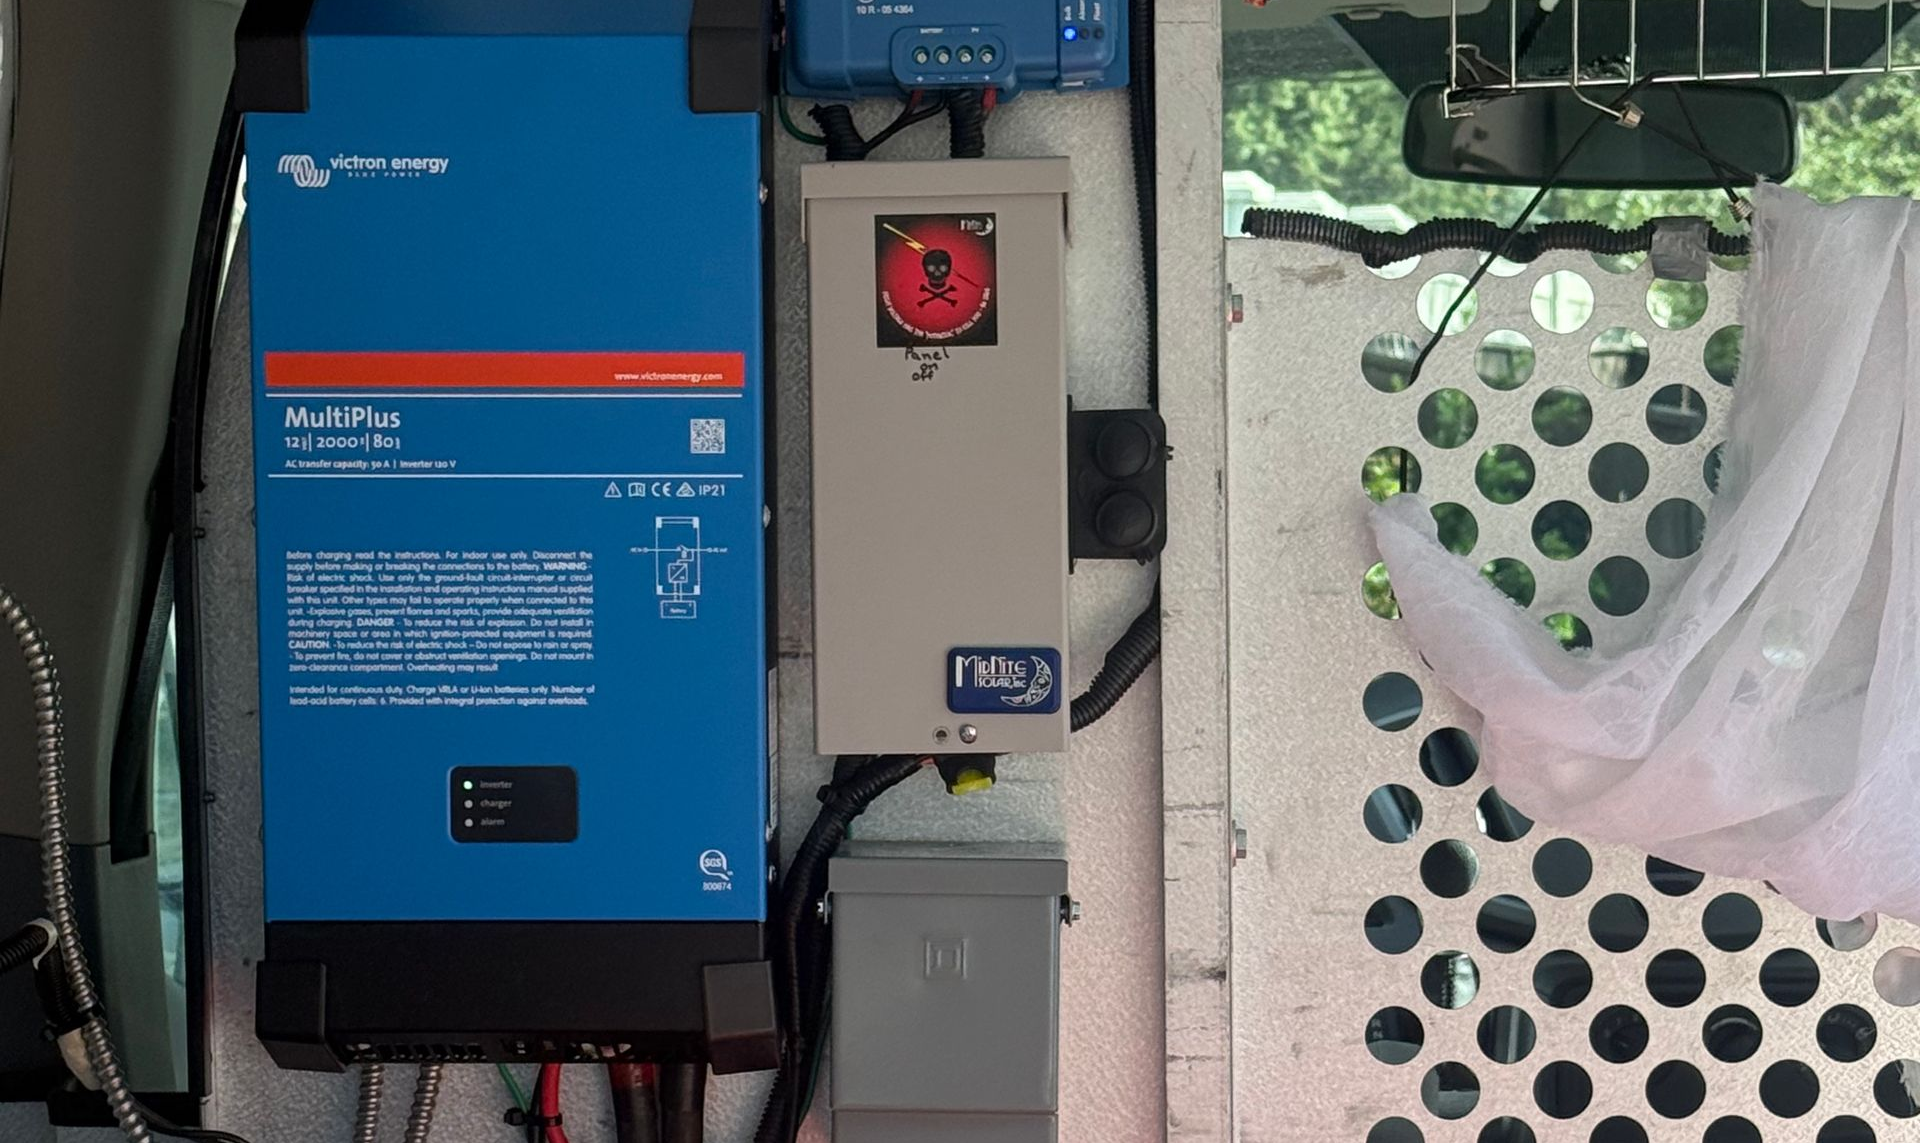
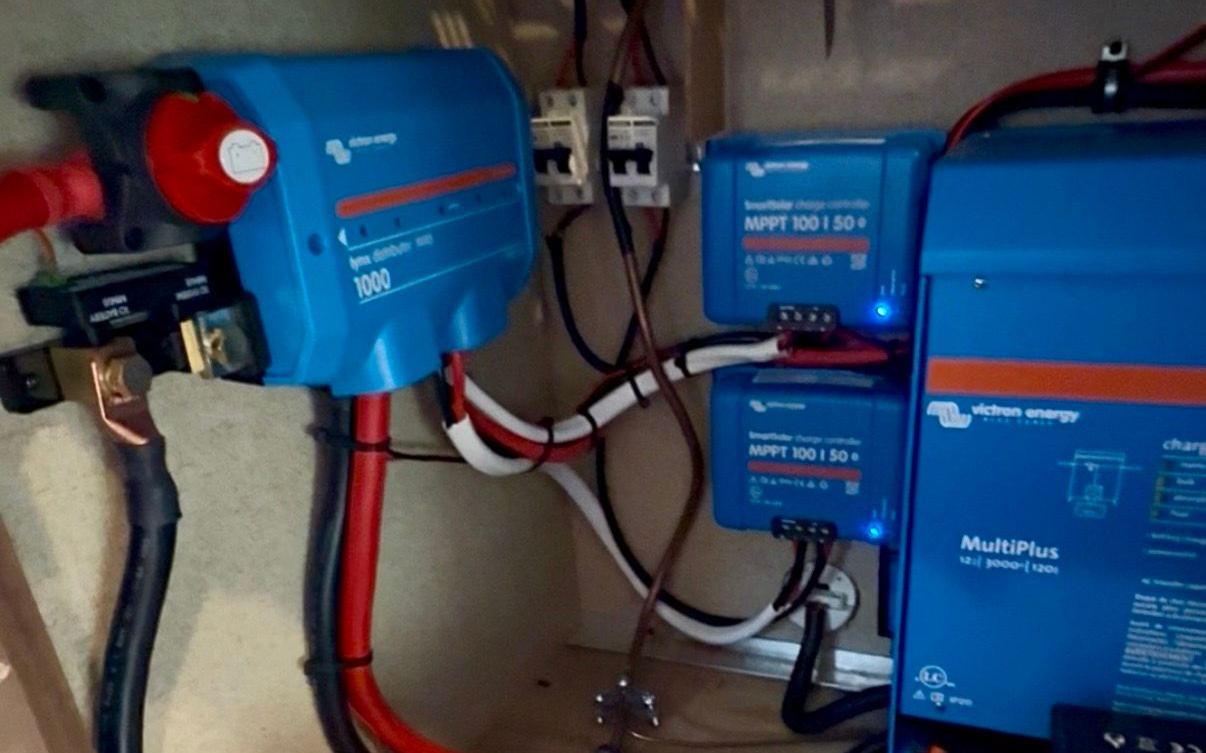
Mount the MPPT charge controller, inverter, and battery busbars inside a ventilated bay. Proper wire sizing (AWG) based on amperage distance is crucial here—under-sized wiring causes voltage drop and poses a severe fire hazard. Every major positive line requires appropriate fuses or circuit breakers.
Phase 5: Commissioning & Monitoring
Once the LiFePO4 batteries are hooked up, turn on the system breakers. Smart controllers offer Bluetooth monitoring, letting you track incoming wattage, battery percentage, and real-time load from an app.
Final Thoughts
Installing off-grid solar on a trailer or RV takes sweat equity, but the payoff is immediate. The moment your system boots up, the sun takes over, and your battery gauge climbs without a generator humming in the background, you realize every hour spent wiring was worth it.
Leveling Up: Why Trailer Brothers Got Victron Energy Certified (and What It Means for Your RV Power)