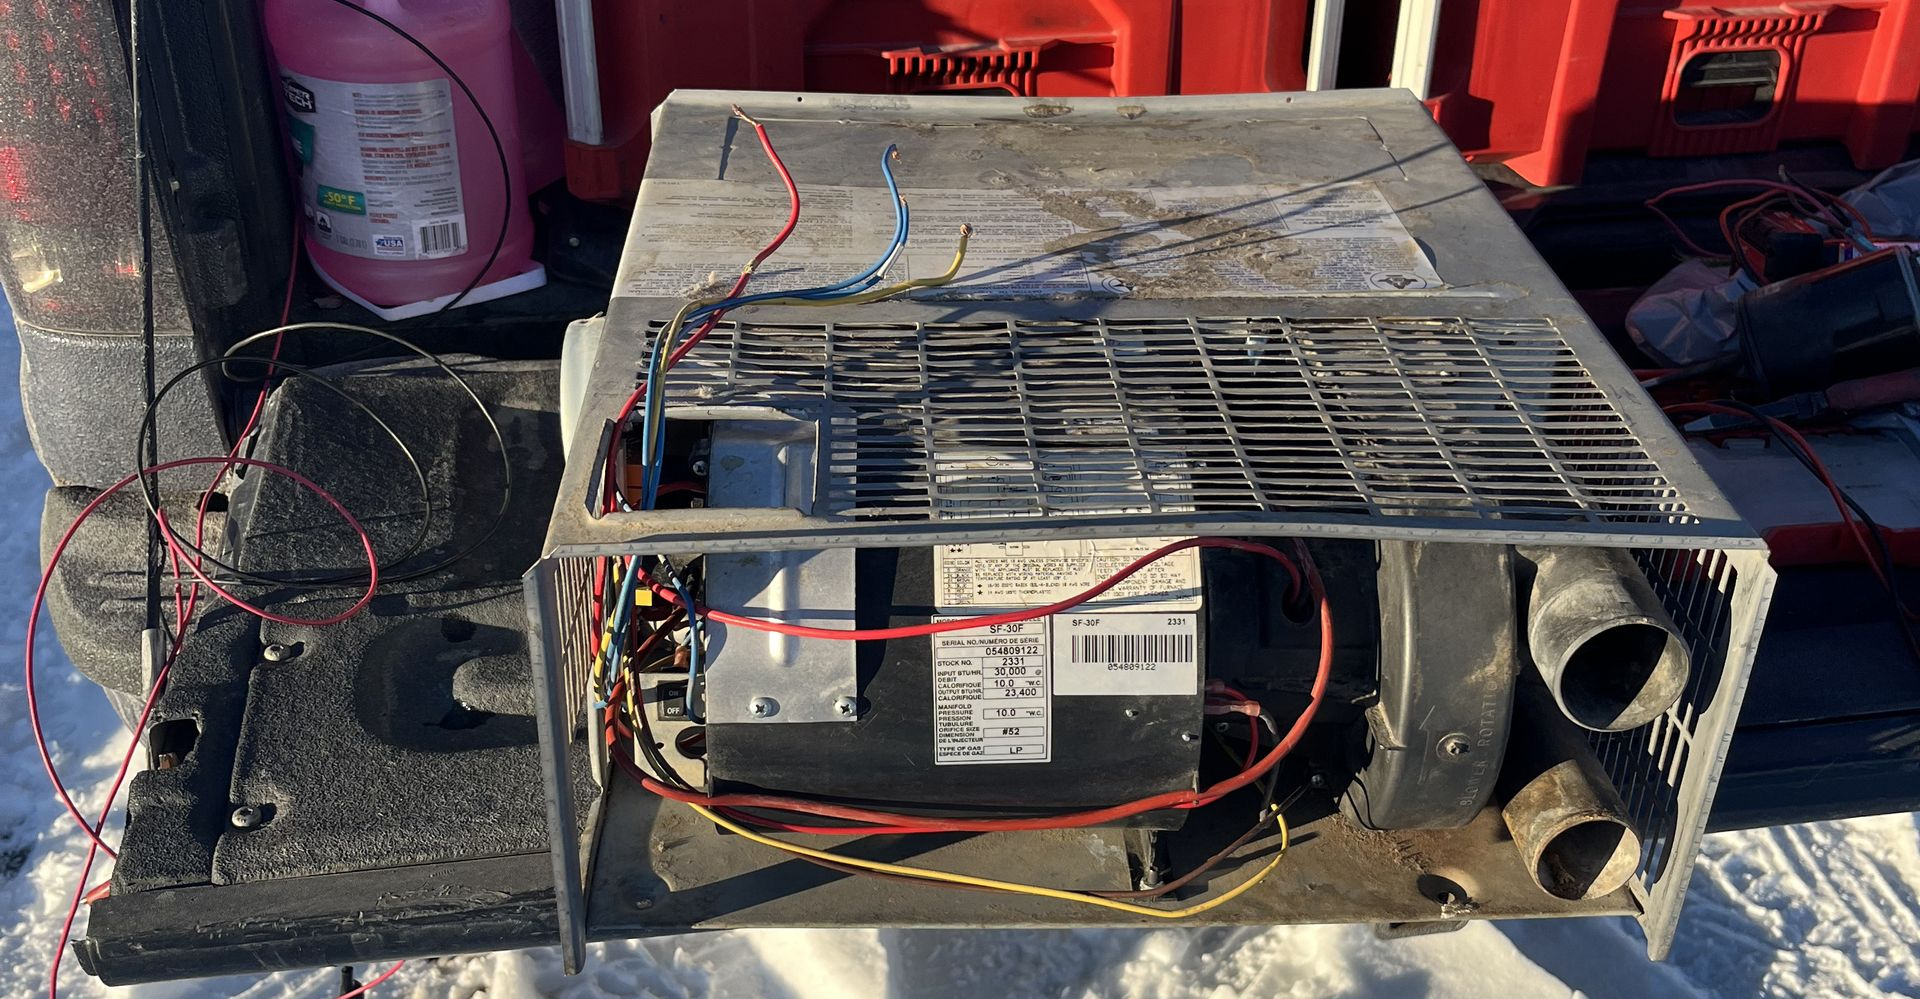
Bracing for Winter: Comprehensive Guide on Winterizing and De-Winterizing Your RV

Kody carbine • October 4, 2023

As the days get shorter and the temperature begins to drop, it's time to start thinking about winterizing your RV. At Trailer Brothers, we understand that preparing your RV for winter is crucial to ensure its longevity and your comfort. On the other hand, when spring arrives, you'll need to know how to properly de-winterize your RV for your warm-weather adventures. In this comprehensive guide, we'll walk you through both processes step-by-step.


RV Winterization Process

Winterizing your RV involves a series of steps aimed at protecting your trailer or motorhome from extreme cold weather, which can cause damage.


1. Drain the water systems


A key step to taking care of your RV for winter is to drain all the water. This includes the fresh water tank, the gray and black water tanks, and the water heater. As water freezes it expands and can cause significant damage. Don't forget the facets, inside/outside shower and Toilet.


2. Use RV antifreeze or blow out lines as an alternative option


After draining your RV's water systems, the next step is to fill the lines with RV antifreeze. This will prevent any remaining water from freezing and potentially cracking the lines. Using a water pump converter kit or a hand pump, you can push the antifreeze into the system. Another way to winterize your RV is to blow out the lines with an air compressor. If this is the option you chose make sure to still pour RV antifreeze down all drains to prevent the P-traps from freezing.


3. Seal the RV


To prevent cold air from entering the RV, check all the doors and windows for leaks. Seal any cracks you find with weather stripping or lap sealant. Also, cover the vents to prevent any drafts. We also recommend removing all 12V batteries and putting them on a trickle charger. Be sure to store them inside for the winter. Cold temperatures are extremely hard on batteries.


RV De-Winterization Process

When the cold months are over, it's time to prepare your RV for spring and summer journeys. Let us help get you back out into the great outdoors.


1. Flush the water system


Start by flushing out the antifreeze from the water system. Connect your RV to a water source and run water through all the faucets until it runs clear. Don't forget to flush the toilet and run water in the shower as well.


2. Check appliance operation


After de-winterizing your water system, check all your RV appliances to make sure they're operating correctly. This includes your refrigerator, air conditioner, stove, and any other appliances you have in your RV.


3. Inspect the exterior


Lastly, perform a thorough inspection of your RV's exterior. Look for any signs of wear and tear that might have occurred during the winter. Check the roof, sidewalls, tires, and undercarriage for any damage.


At Trailer Brothers, we understand that winterizing and de-winterizing your RV can seem like a daunting task. However, with this guide, we hope to make the process a little easier for you. Remember, proper maintenance and care for your RV will ensure that it serves you well for years to come.


If you have any questions or if you're unsure about any part of the winterization or de-winterization process, don't hesitate to contact us. Our team of experienced technicians is always here to help. Contact Trailer Brothers today and let us take the worry out of winterizing and de-winterizing your RV.
By Kody carbine • September 17, 2026
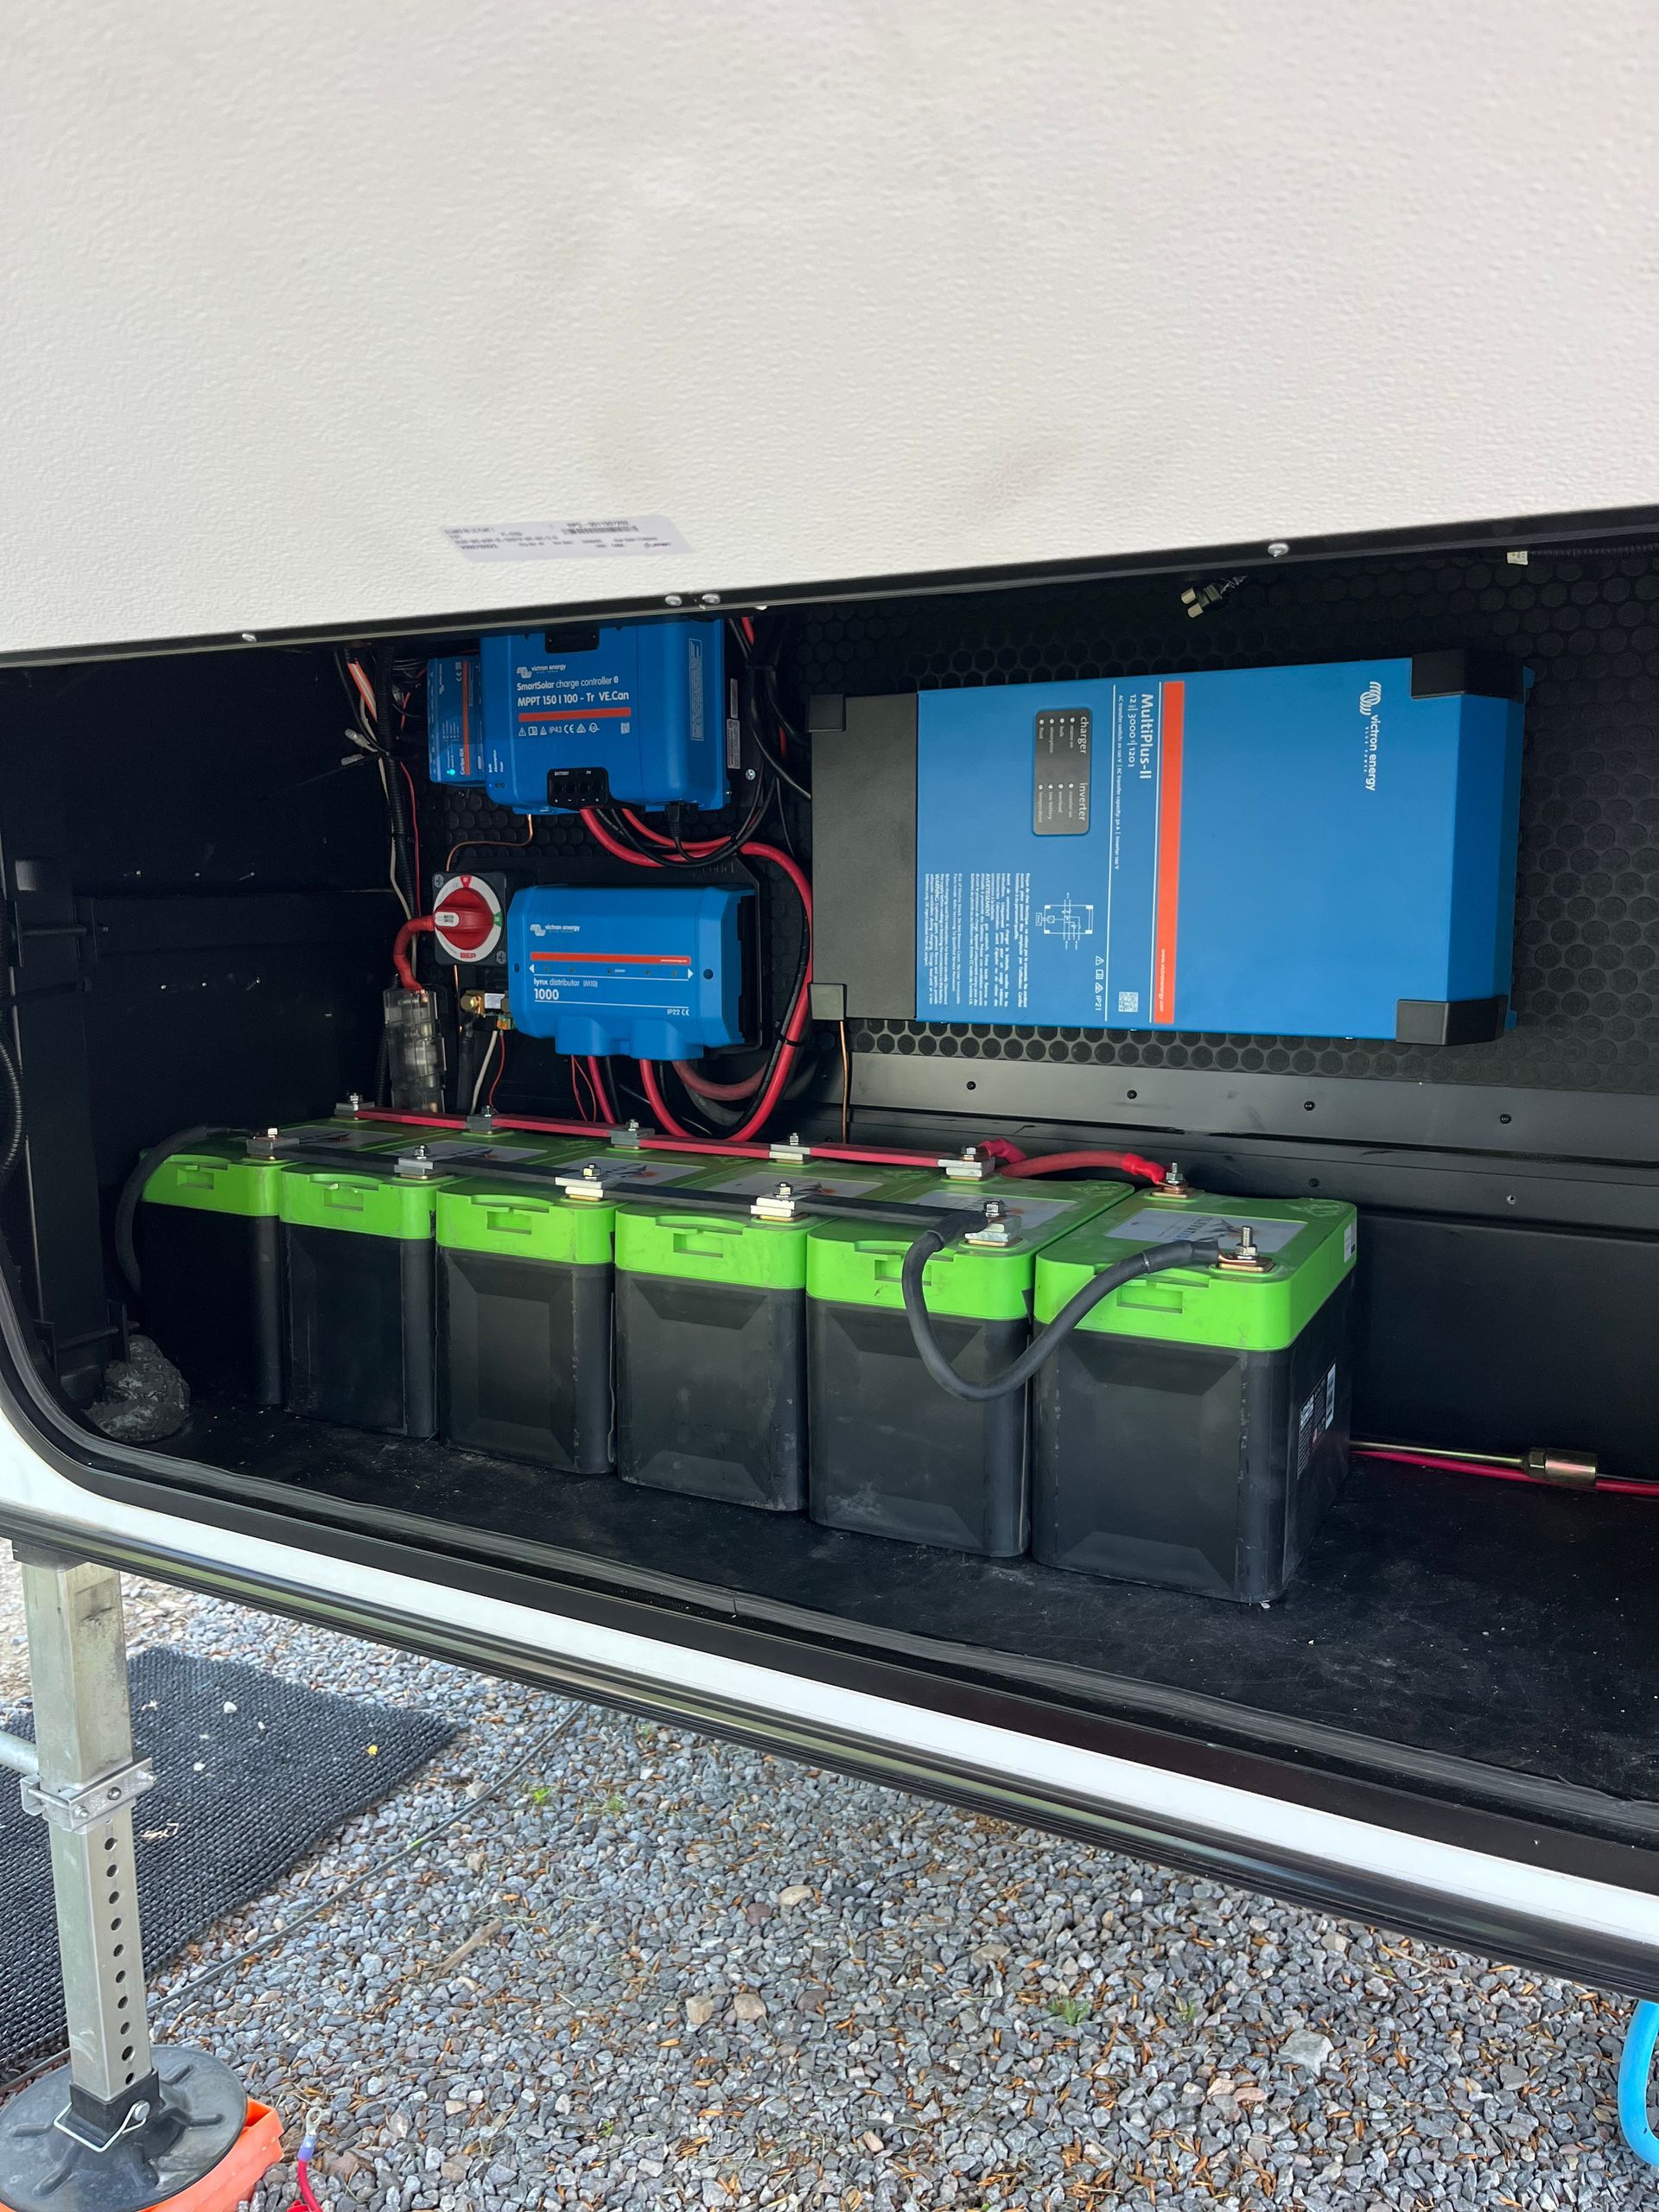
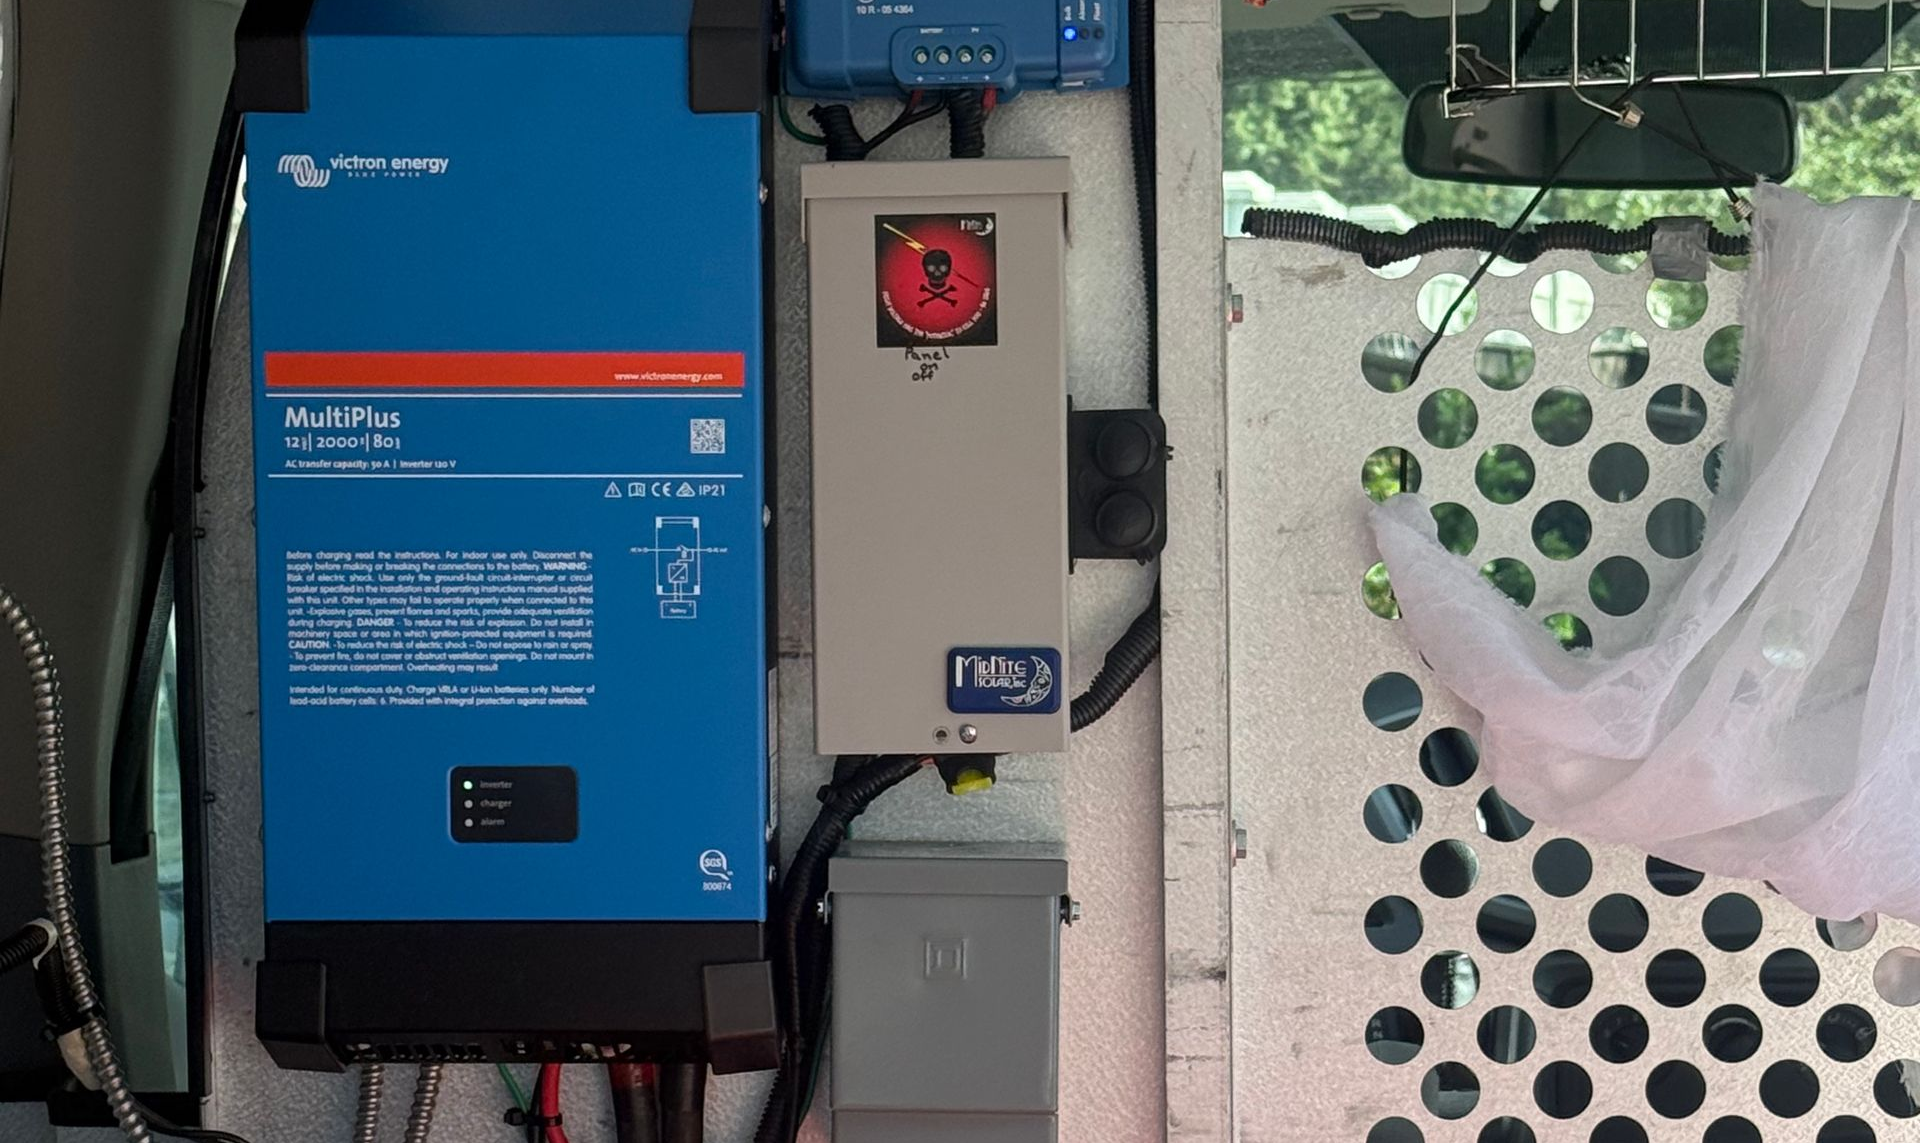
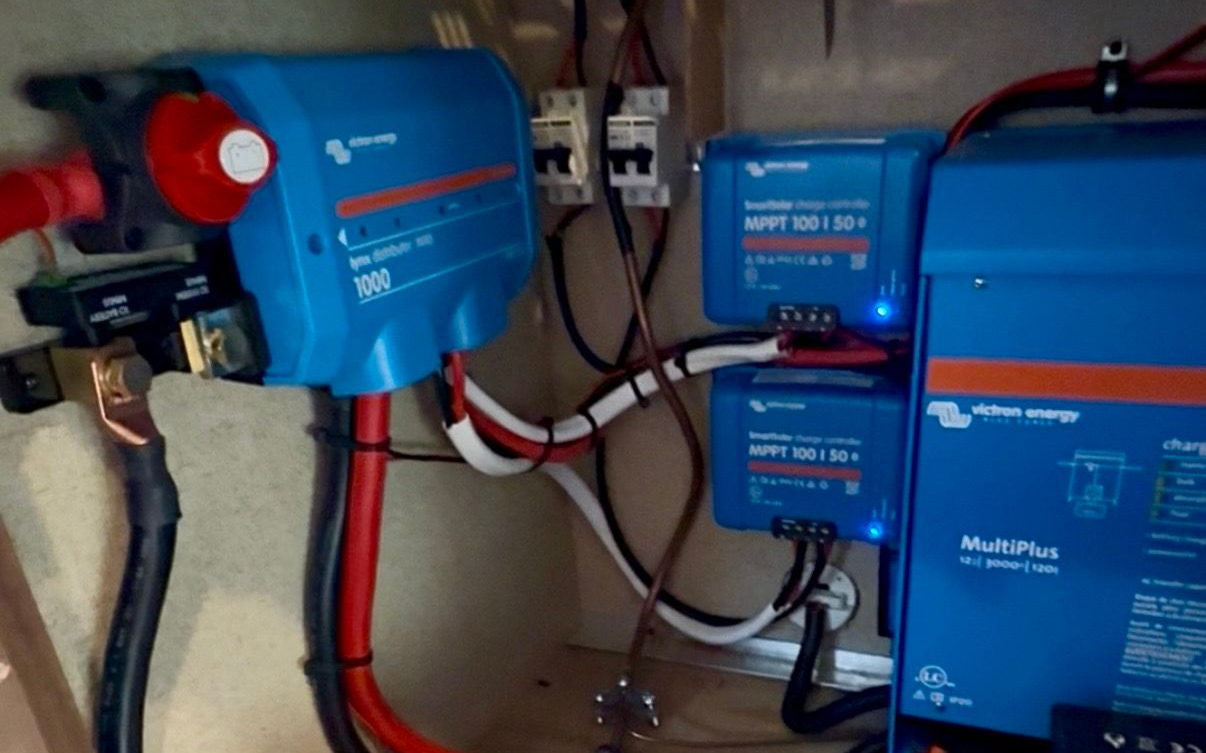
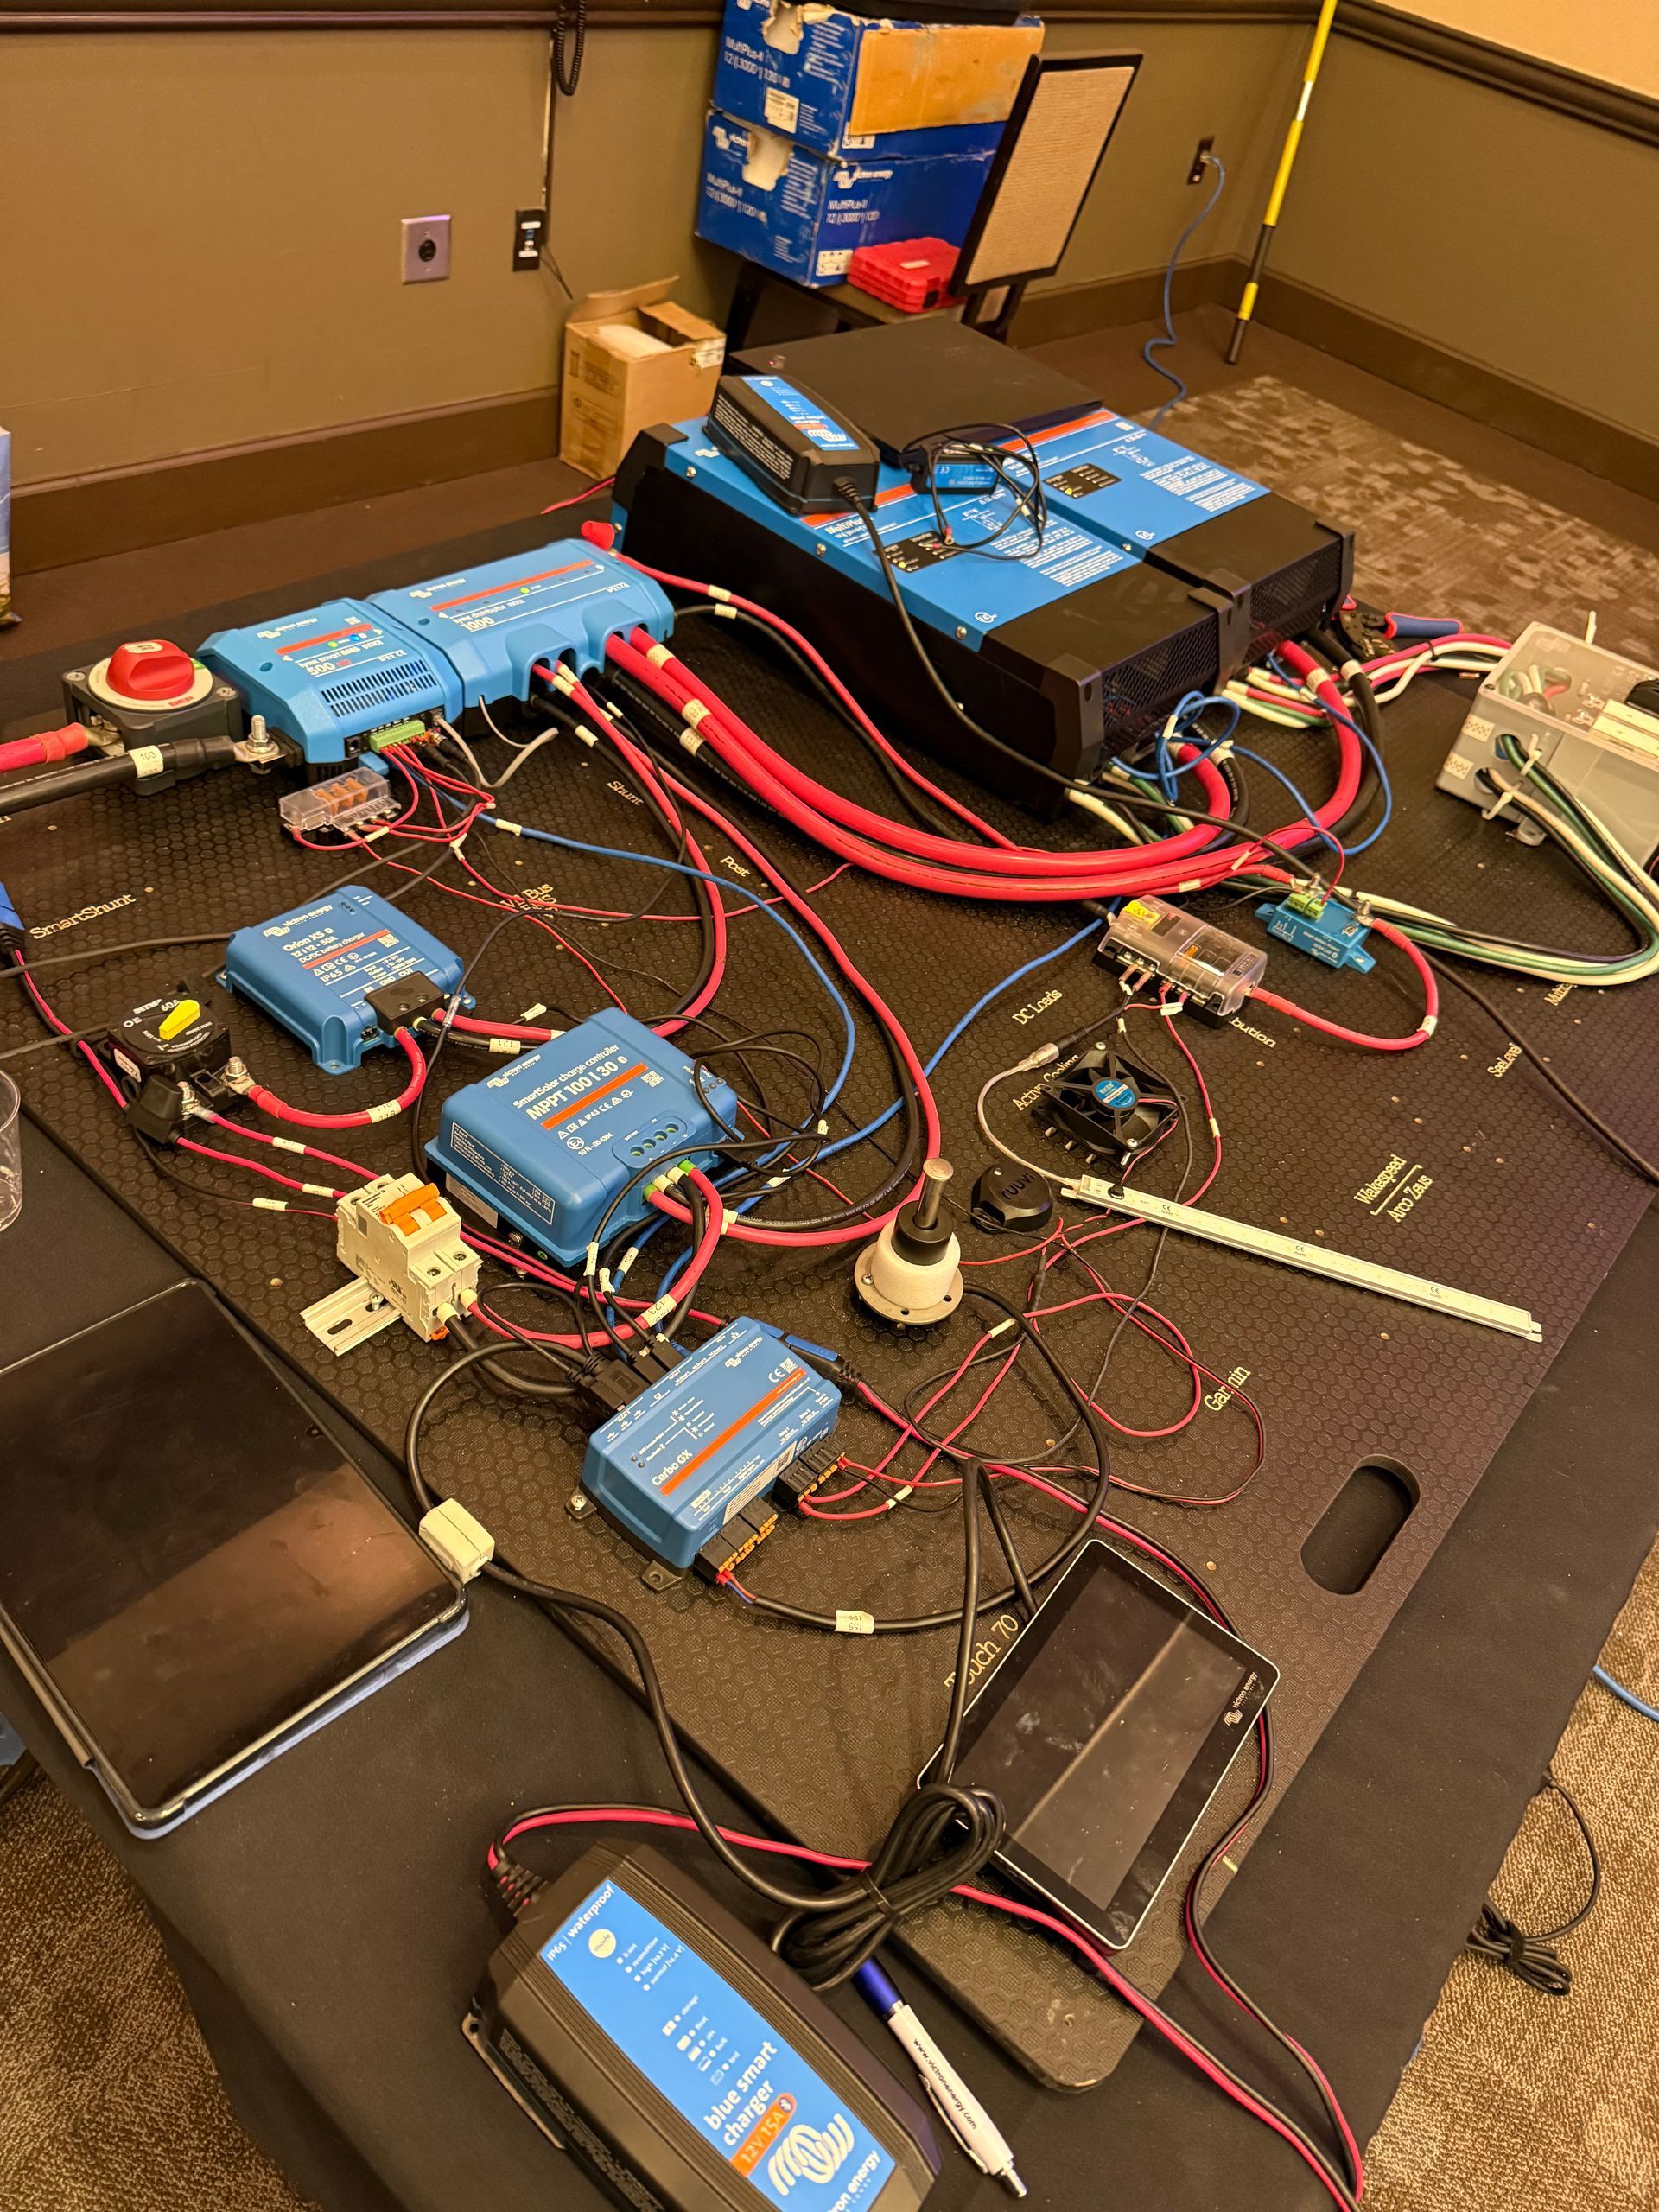
When you’re boondocking deep in Utah’s red rocks or dry camping off the beaten path, the last thing you want to worry about is whether your batteries can run your air conditioner, microwave, or fridge. Reliable power isn't just a luxury—it’s the backbone of modern RV freedom. At Trailer Brothers , we’ve always believed in bringing you top-tier mobile RV service, maintenance, and installations across the Salt Lake City and Utah County regions. But we don’t stop at "good enough." To bring our custom RV power and off-grid solar builds to the absolute highest standard, our team officially completed advanced hands-on Victron Energy installer training. Here’s why we invested in Victron Energy certification and how upgrading your rig with a professional Victron installation will completely transform your travel experience. Why Victron Energy? If you’ve researched RV solar and off-grid electrical setups, you’ve likely seen the blue boxes. Victron Energy is widely regarded as the gold standard in off-grid power ecosystems. Unlike piecemeal power setups with mixed-and-matched brands, Victron components are built from the ground up to communicate seamlessly with one another. Heavy-Duty Reliability: Engineered for marine and extreme off-grid environments, Victron hardware is designed to handle harsh road vibration, high electrical draws, and temperature spikes. Intelligent Battery Management: Whether you are running AGM or Lithium Iron Phosphate (LiFePO4) batteries, Victron smart chargers optimize charging curves to maximize your battery bank's lifespan. Unified Ecosystem: Inverters, solar controllers, and battery monitors communicate over high-speed networks (VE.Direct, VE.Bus, and CANbus), eliminating system conflicts and parasitic power draws. What Going to Victron Training Means for You Victron equipment is incredibly capable, but it is also highly sophisticated. Properly sizing cable gauges, programming custom lithium charge profiles, configuring split-phase 120V/240V systems, and balancing power inputs requires hands-on technical mastery. By attending rigorous, hands-on Victron training, the Trailer Brothers team mastered: Precision System Design: Matching solar input (MPPT controllers), inverter output (MultiPlus/Quattro), and lithium battery storage to your exact travel lifestyle. Advanced Programming & Diagnostics: Fine-tuning DVCC (Distributed Voltage and Current Control), custom charging parameters, and automatic generator starts. Safe, Code-Compliant Installations: Proper fusing, busbar integration (Lynx Distributor), and heavy-duty wiring that pass rigorous safety standards. The Trailer Brothers Difference: You aren't getting an off-the-shelf system installed by guess-and-check. You’re getting a fully customized, factory-trained electrical upgrade built to keep you safe and powered anywhere. 4 Ways a Victron Upgrade Improves Your RV Experience Whether you're a weekend camper or a full-time RVer, upgrading to a professional Victron Energy power system fundamentally changes how you use your coach. 1. Seamless Off-Grid Power (Run the AC off Lithium) With a Victron MultiPlus or MultiPlus-II Inverter/Charger, you get lightning-fast transfer switching. If you unplug from shore power, your outlets instantly transition to battery power without interrupting your electronics or resetting your appliances. Paired with a solid lithium bank, you can run high-draw appliances like microwave ovens, coffee makers, and even air conditioners off-grid. 2. Maximum Solar Harvest with SmartSolar MPPTs Victron SmartSolar MPPT Charge Controllers extract every single watt of usable power from your rooftop solar panels, even on overcast days. Built-in Bluetooth lets you monitor panel yield, voltage, and historical generation right from your smartphone. 3. Total System Visibility (Cerbo GX & VRM) Say goodbye to vague tank-style battery gauges that only tell you "Low, Medium, or Full." With a Cerbo GX and GX Touch Display (or SmartShunt), you see exact state-of-charge percentages, time-to-discharge, real-time power draws, and solar input down to the decimal point. Plus, with the free Victron Remote Management (VRM) portal, you can view and monitor your RV’s power system remotely from anywhere in the world. 4. PowerAssist Technology (No More Tripping Shore Breakers) Ever plugged into a 15-Amp or 30-Amp outlet at a campground or home, only to trip the pedestal breaker when you turned on a hair dryer or AC? Victron’s PowerAssist technology automatically supplements limited shore power or generator power with energy from your battery bank, seamlessly preventing tripped breakers. Essential Victron Upgrades Compared ComponentFunctionThe RV Experience BenefitMultiPlus-II Inverter/Charger Converts DC battery power to AC wall power & charges batteries.Instant power transfer; run residential AC appliances anywhere. SmartSolar MPPT Optimizes solar panel energy intake.Up to 30% faster battery charging from solar panels compared to basic PWMs. Cerbo GX + Touch 50 System hub & touchscreen display.Single-screen monitoring of solar, AC/DC loads, generator, and battery state. Orion-XS DC-DC Charger Charges house batteries safely from vehicle alternator.Top off your RV batteries safely while driving down the highway. SmartShunt / BMV-712 High-precision battery monitor.Know your exact battery percentage like a fuel gauge on your phone. Ready to Unlimited Your RV Adventures? Don't let power anxieties limit where you can camp. As certified Victron installers, Trailer Brothers is here to help you design, install, or upgrade your dream off-grid system. From full solar conversions to inverter upgrades and lithium retrofits, we deliver factory-grade workmanship with personalized customer care. Contact Trailer Brothers today to schedule a consultation for your RV power system! Call/Text: (801) 503-2561 Service Areas: Salt Lake City, Utah County, and surrounding Utah regions Website: trailer-brothers.com
Solar Install
By Kody carbine • September 3, 2026
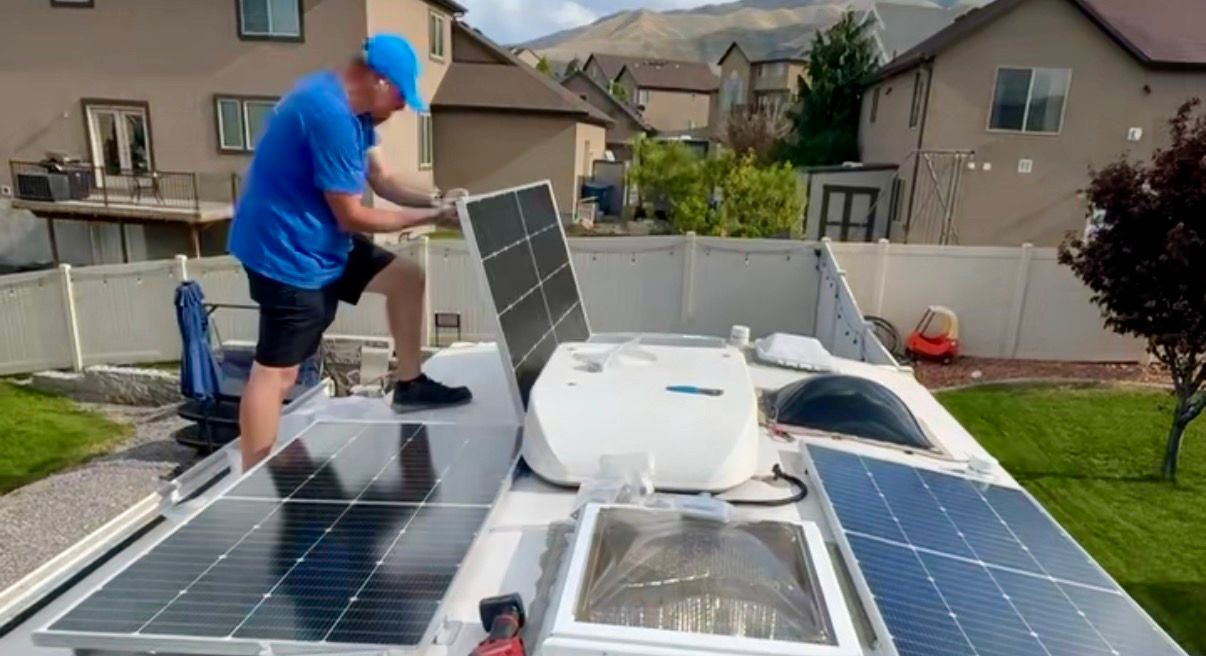
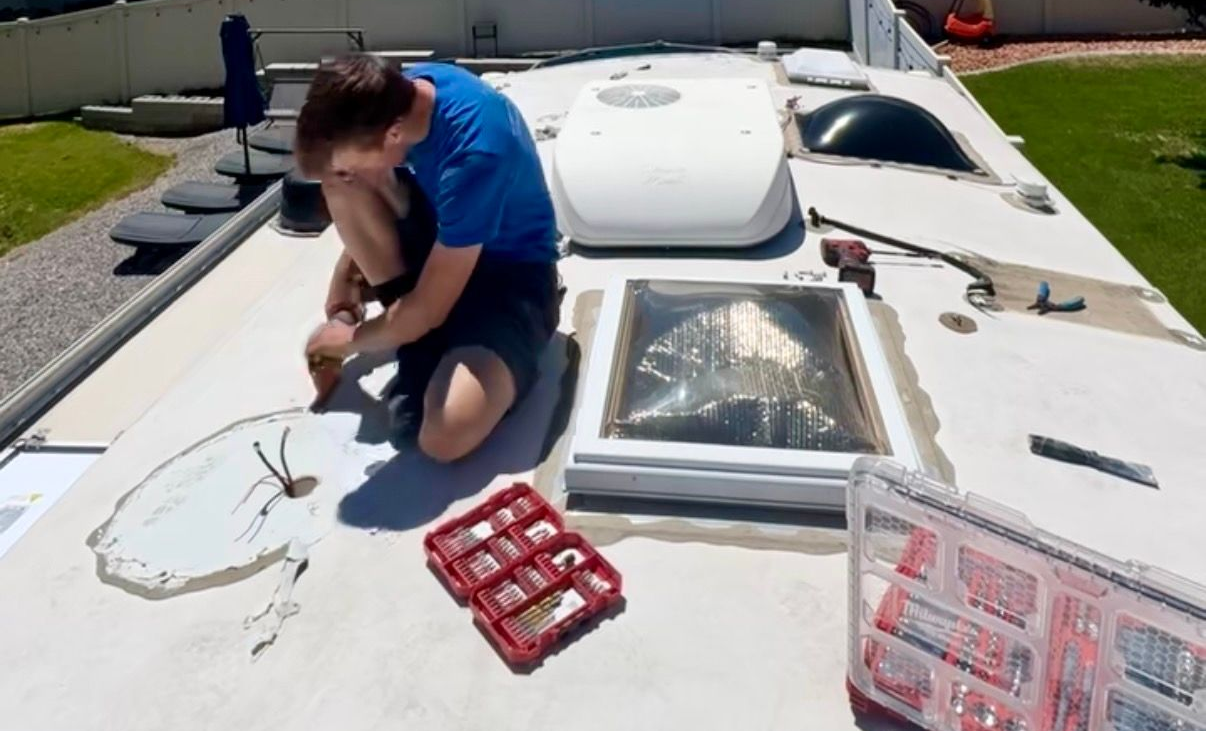
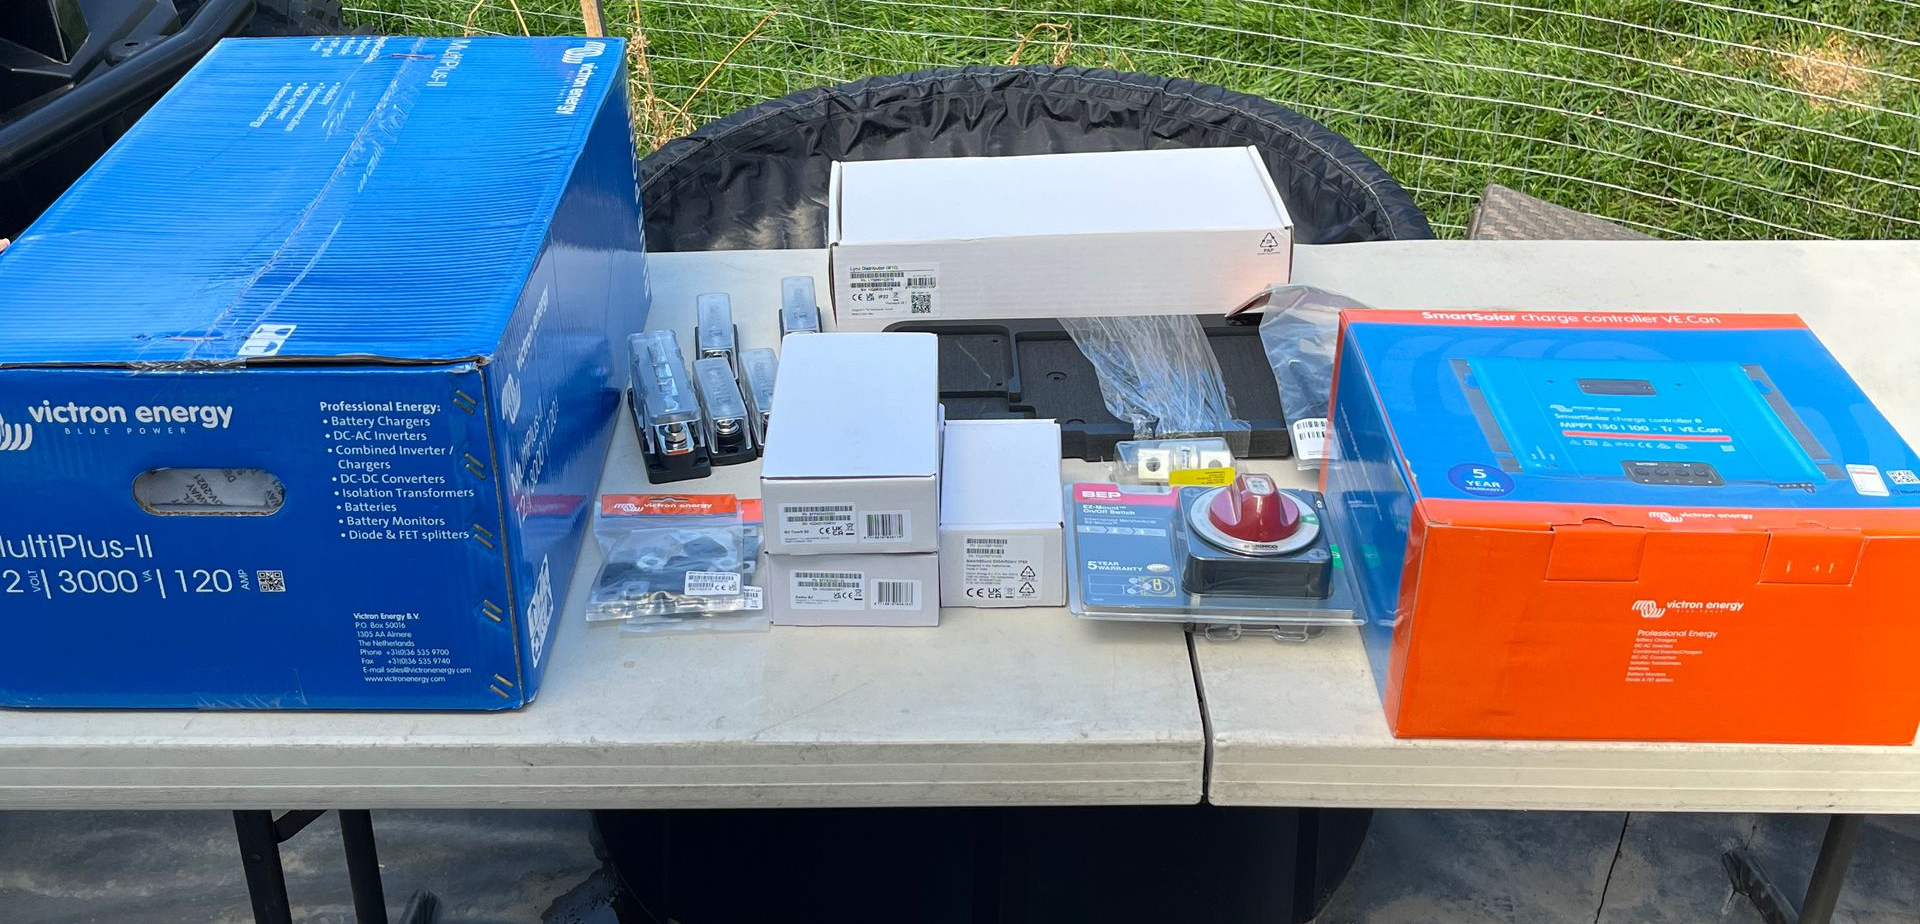
There’s a specific kind of magic in pulling your trailer into a secluded forest clearing, turning off the engine, and realizing you don’t need a shore power pedestal, a noisy gas generator, or a crowded RV park to live comfortably. Upgrading a trailer or RV with an off-grid solar system promises total energy independence. But what does the actual process of installing one feel like? Beyond the polished YouTube videos, installing RV solar is a mix of heavy lifting, tedious wiring, electrical math, and a whole lot of drills through your beloved camper's roof. Here is an honest look at what it takes to install an off-grid solar upgrade, how the components fit together, and whether you should dive in DIY-style or hire a pro. The Big Four: Core System Components Before driving a single screw, it helps to understand the four primary building blocks of an off-grid setup. ComponentWhat It DoesWhy It Matters Off-GridMonocrystalline Panels Converts sunlight into direct current (DC) electricity.High efficiency maximizes limited roof space. MPPT Charge Controller Regulates voltage/current coming from panels to safely charge batteries.MPPT is up to 30% more efficient than older PWM controllers in variable weather. LiFePO4 Battery Bank Stores solar energy for nighttime and cloudy days.Lithium charges faster, weighs ~60% less than lead-acid, and allows 100% depth of discharge. Pure Sine Wave Inverter Converts 12V DC battery power into 120V AC household electricity.Lets you run residential appliances (laptops, microwaves, coffee makers) safely. Step-by-Step: The Installation Reality Installing solar is a multi-stage project that demands patience, proper safety precautions, and precision measurement. Phase 1: Planning & Energy Audits Before buying hardware, track your daily watt-hour consumption. A modest system running 12V lights, water pumps, and phone chargers might need 200W–400W of solar paired with a 200Ah lithium battery. Heavy power users wanting to run an air conditioner, induction cooktop, or Starlink will look at 800W+ on the roof and a 400Ah–800Ah battery bank. Phase 2: Roof Mounting (The Nerve-Wracking Part) Mounting rigid solar panels requires securing Z-brackets to the aluminum or rubber roof deck. The Drill Rule: Drill pilot holes directly into roof trusses where possible. Waterproofing: Generously apply lap sealant (like Dicor) under every bracket, over every screw, and around cable entry glands to guarantee a watertight seal. Phase 3: Wiring & Charge Controller Routing Solar wire must pass through the roof into the interior compartment housing your equipment. Using a weatherproof double-entry cable gland prevents leaks where cables enter. Phase 4: Building the "Brain" (Inverter, Controller & Busbars) Mount the MPPT charge controller, inverter, and battery busbars inside a ventilated bay. Proper wire sizing (AWG) based on amperage distance is crucial here—under-sized wiring causes voltage drop and poses a severe fire hazard. Every major positive line requires appropriate fuses or circuit breakers. Phase 5: Commissioning & Monitoring Once the LiFePO4 batteries are hooked up, turn on the system breakers. Smart controllers offer Bluetooth monitoring, letting you track incoming wattage, battery percentage, and real-time load from an app.  Final Thoughts Installing off-grid solar on a trailer or RV takes sweat equity, but the payoff is immediate. The moment your system boots up, the sun takes over, and your battery gauge climbs without a generator humming in the background, you realize every hour spent wiring was worth it.
Leak Repair
By Kody carbine • July 3, 2025
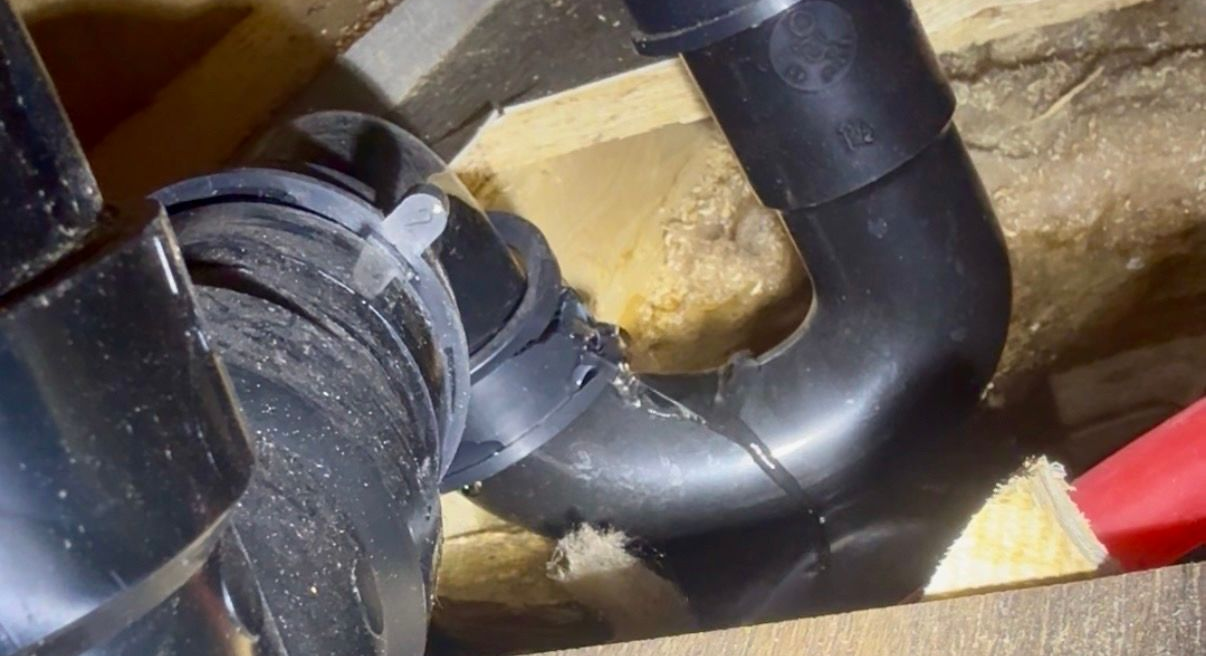
Keep your RV's plumbing system in perfect working order with comprehensive repair solutions from Trailer Brothers. Our expert services ensure a hassle-free and comfortable travel experience.
Solar Panel Panel installation
By Kody carbine • June 6, 2025
Embrace eco-friendly travel with RV solar panel installation in Utah. Trailer Brothers offers top-notch solar solutions, allowing you to harness renewable energy for your road adventures.
Roof Reseal
By Kody carbine • May 5, 2025
Ensure your RV's longevity with essential roof repair and replacement services in Utah. Trailer Brothers offers expert solutions to keep your RV safe and protected from the elements.
Electrical Diag
By Kody carbine • April 4, 2025
Discover the benefits of investing in an RV inverter for efficient power usage. Trailer Brothers provides top-quality RV inverter installation, ensuring eco-friendly and reliable power solutions for your travels.
Electrical Repair
By Kody carbine • March 5, 2025
Stay safe on the road with expert RV electrical system repair from Trailer Brothers. Our professional services ensure your RV's electrical components are reliable and functioning efficiently.
Batteries and Converter/Inverter
By Kody carbine • February 5, 2025
Choose the best RV electrical installation services in Utah with Trailer Brothers. Our experienced team ensures safe and efficient electrical systems, keeping your RV powered and adventure-ready.
Air Bag repair
By Kody carbine • January 4, 2025
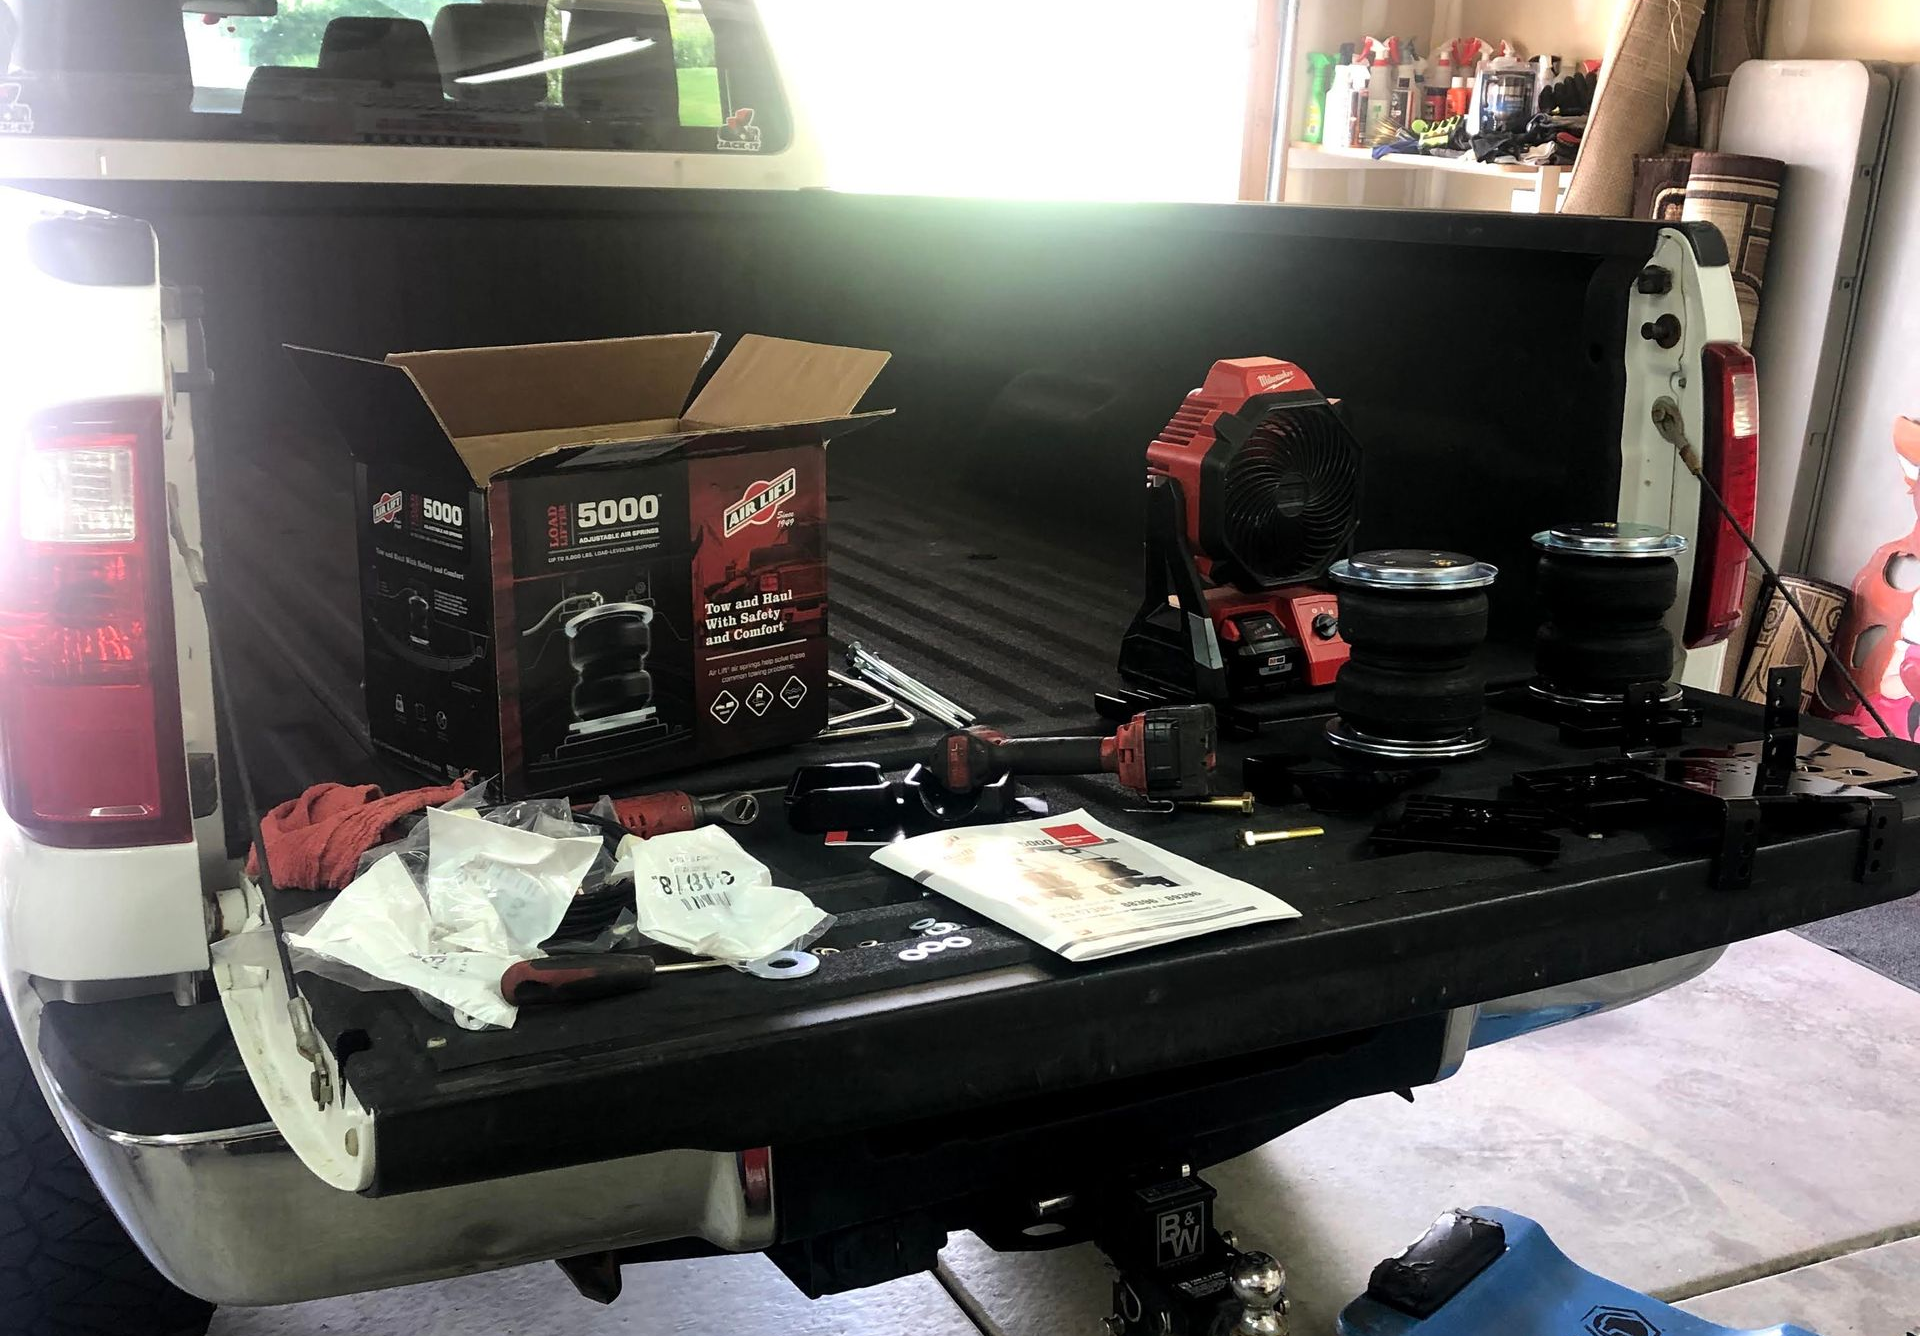
Enhance your RV ride with wireless compressor and RV airbags installation. Trailer Brothers' skilled technicians offer top-notch services for a smoother and more comfortable travel experience.
Furnace
By Kody carbine • December 4, 2024
Ensure optimal temperature control in your RV with professional heating repair services. Trailer Brothers provides expert solutions to keep your vehicle warm and comfortable, no matter where your travels take you.